| 2" Plastic Shells |
|
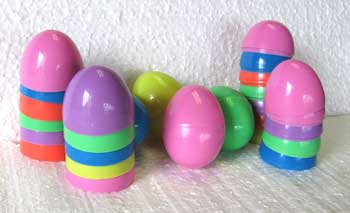
These shells work great in 1-3/4" to 2" diameter mortar tubes. The reason why they look like the plastic eggs you find around Easter time is because that's what they are! They're cheap and work well for shells and rocket headers. Fusing I need to get photos showing how I fuse these but it's really pretty simple. I just drill a hole, insert a length of Visco, and seal with hot melt glue. The length of your time fuse can be determined by firing a couple of dummy shells and adjusting the fuse length so the shell bursts right before the shell starts to come back down. The best way to determine the burn time of your Visco is to take a 10" section and time how long it takes to burn. Divide that time by 10 and you have a good idea of the burn time per inch of your spool. You'll definitely want to split and prime both ends of the Visco to insure ignition. |
Assembly
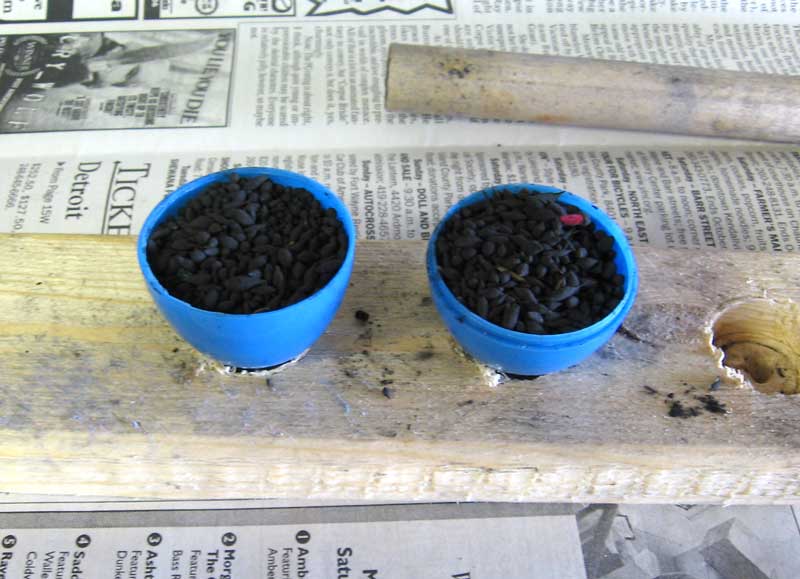
| Line the shells with your favorite stars and add burst to keep them lined up around the wall of the shell. I used Dragon Eggs and 1/2" pieces of flying fish fuse. The burst is BP coated grass seed for this one. |
|
|
|
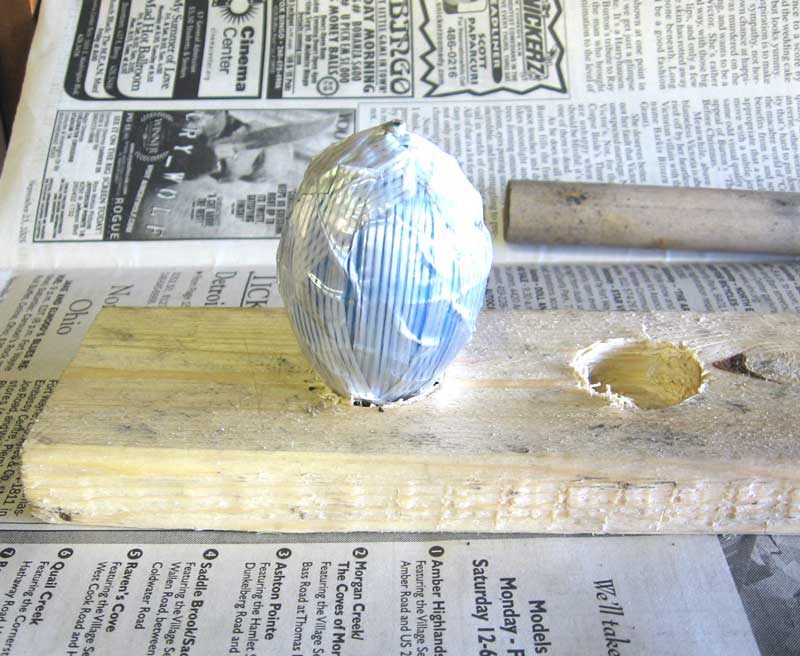
Quickly snap the two halves together and start wrapping with 3/4" fiber tape. This takes some deal of practice and I bumbled this one. You'll see how the contents got jumbled and screwed up the symmetry in the video below. Some tutorials suggest simply making a single "x" pattern with the fiber tape and then pasting with 3-4 layers of Kraft paper. I'm normally too impatient to wait for glue to dry.
Once I've "pasted" the shell lengthwise, I wrap the tape horizontally.
|
|
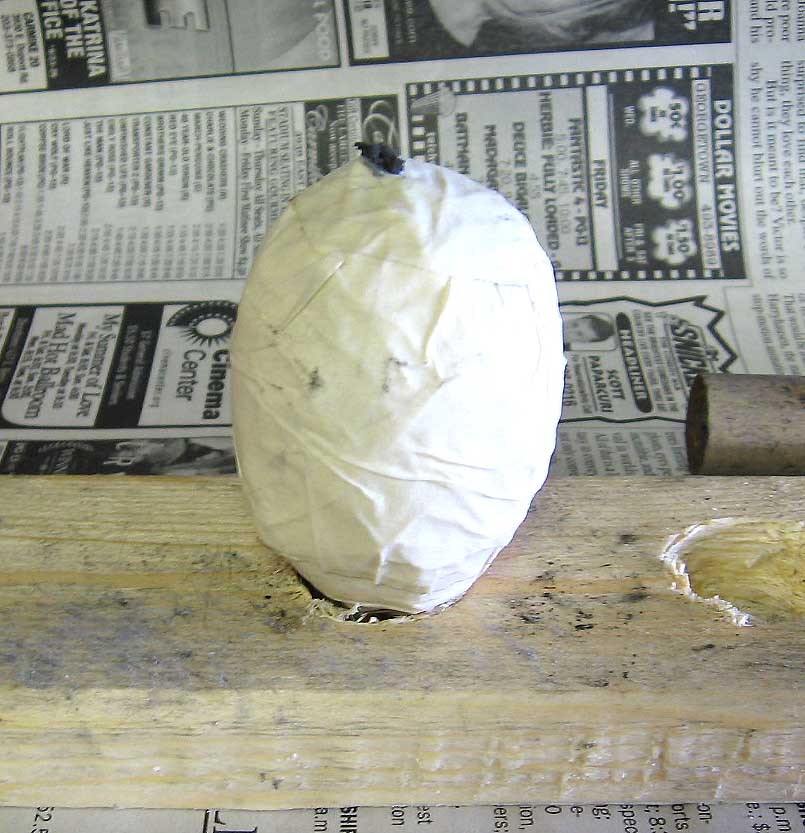
Finally, I wrap it in masking tape to make it fit properly in my 2" diameter tube. Note the prime on the time fuse.
|
|
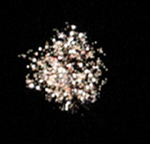
The amount of lift used is determined by many factors including the weight of your finished shell, the fit and length of your mortar, and how good the lift is. I make my own lift and used around 5-6 grams for this one. If you're using commercial powder, 2F is typically used. If your mortar has a side hole, the lift can be poured in and a piece of Visco inserted through the hole. If you don't have a side hole, you can put the lift into a piece if tissue and use a length of quick-match. And here's the final product. Unfortunately my camera doesn't seem to focus very well at night but you can still get a good idea of the symmetry.
|